The UI can be divided into Three zones: Left bar, Right bar, and Timeline
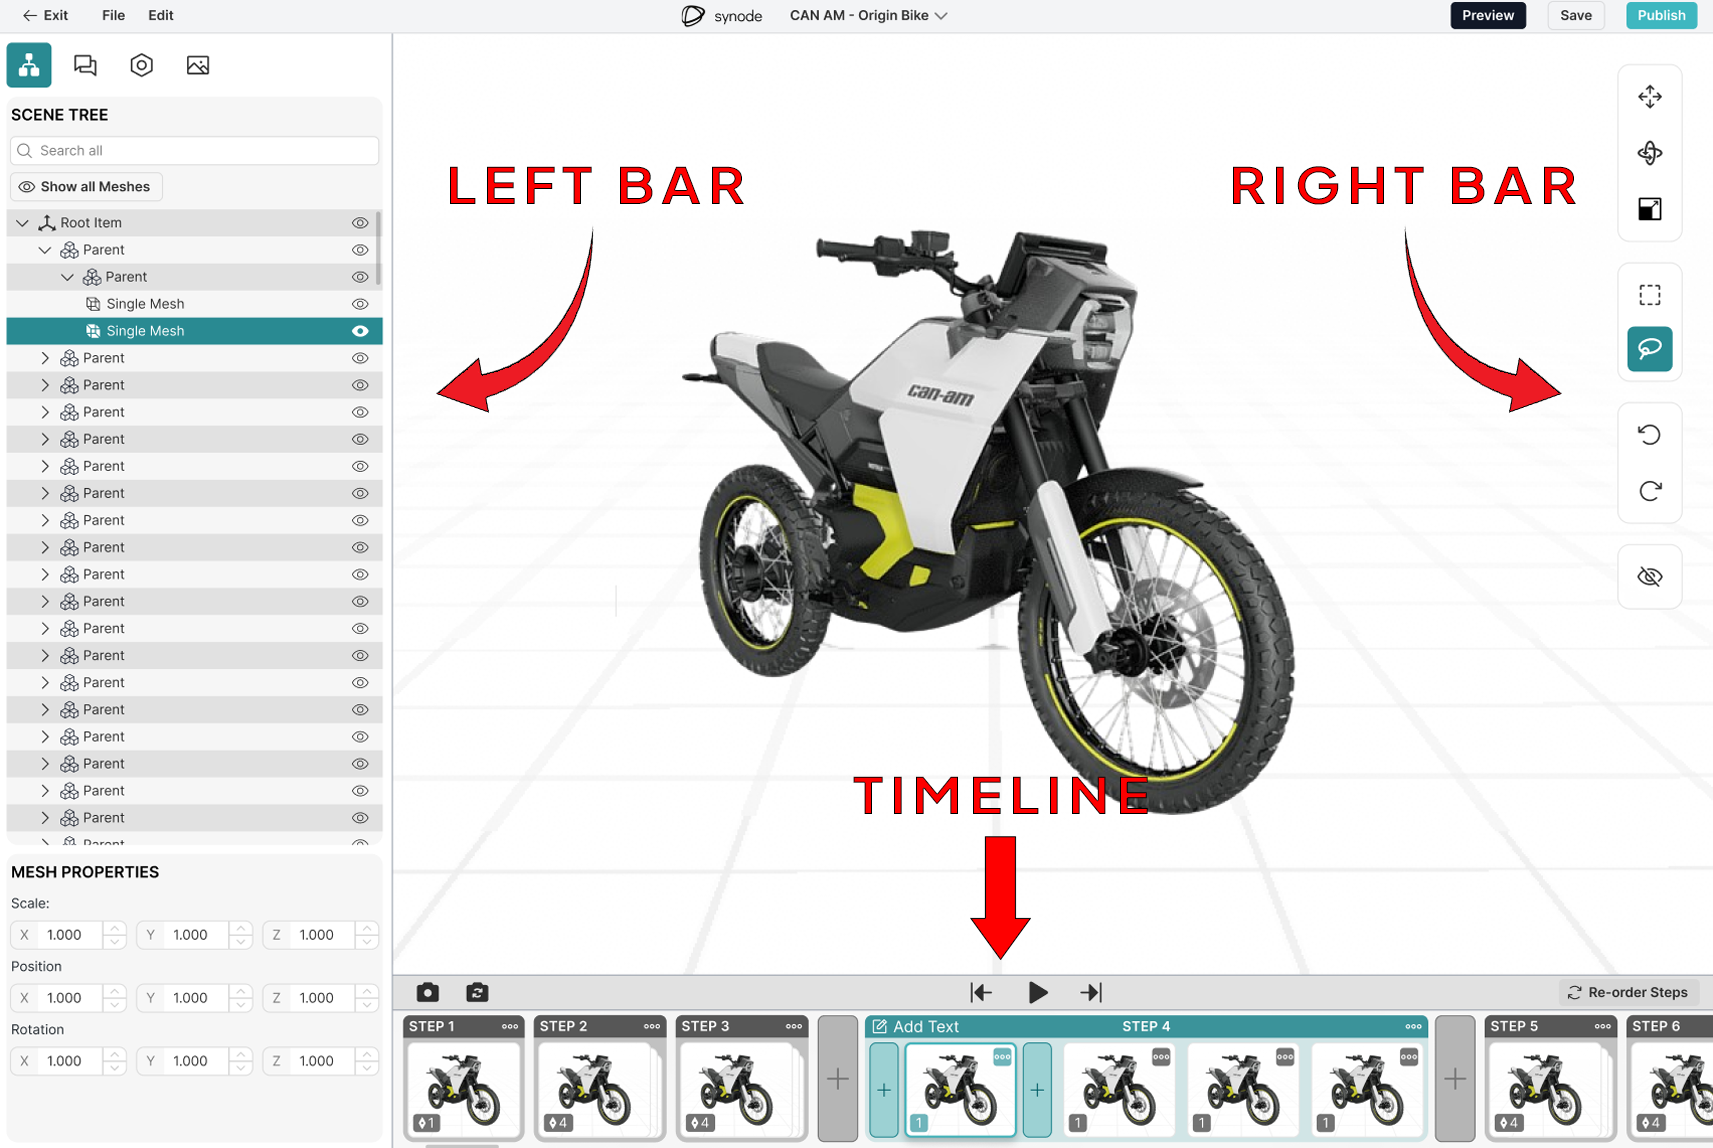
Left Bar:
Mesh List:
The Mesh List contains all the meshes that are in your scene. Selecting a mesh in your scene will highlight your mesh blue in the Mesh List. You also have the option to hide meshes from the Mesh List. Click the "eye" logo next to the selected mesh to toggle the visibility.
Mesh Properties:
Here is where you can manually edit your mesh in your scene. You can control the Transforms, Rotation, and Scale. Insert numerical values to achieve different results. If you want something to move in a positive direction leave the number as normal (For example; 50). If you want a mesh to move in the opposite direction, you would add a negative number instead (For example; -50).
Right Bar:
Move Tool:
The Move Tool is used to move meshes around in your scene. Select a mesh or group of meshes first, then you can use the Move Tool.
Rotate Tool:
The Rotate Tool is used to rotate meshes in your scene. Select a mesh or group of meshes first, then you can use the Rotate Tool.
Scale Tool:
The Scale Tool is used to Scale meshes larger or smaller in your scene. Select a mesh or group of meshes first, then you can use the Scale Tool.
Undo Tool:
If you made a mistake and wish to undo that mistake. The Undo tool can make it happen.
Redo Tool:
If you undo an action but change your mind, click the redo button to get to where you were before undoing your action.
Box Select Tool:
the Box Select Tool is used to select any mesh that is caught in the box’s parameters. Click and drag to use the Box Select Tool.
Lasso Select Tool:
The Lasso Tool is used to select multiple objects. The lasso tool is especially useful for selecting objects in specific ways, such as avoiding selecting objects you don't want to be selected. Click and drag to use to Lasso Select Tool.
Timeline:
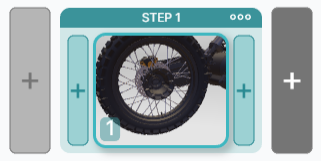
Adding Keyframes:
To add keyframes in your step. Click the “Add Keyframe button” which is marked in grey.
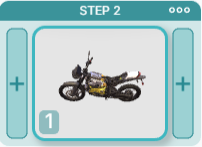
Adding Steps:
To add a different step in your animation. Click the “Add Step button” which is marked in grey.

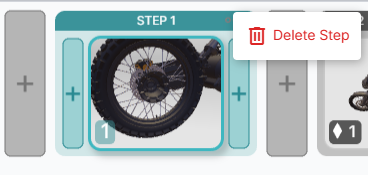
Deleting Steps:
To delete a step, click the 3 dots located at the top right of the step, then click "Delete Step"
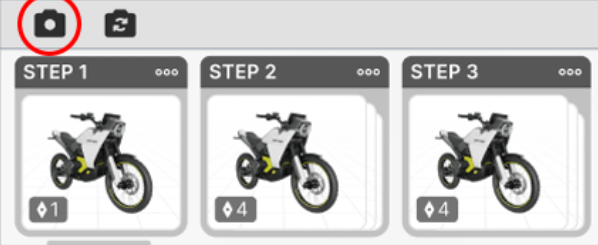
Save Camera Angle:
Once you found a camera angle that you like on a step/keyframe. You can save that camera angle by clicking the “Save Camera Angle” button.
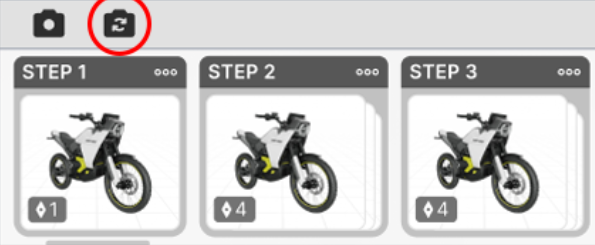
Preview Camera Angle:
If you wish to go back to a certain step and preview its camera angle you saved. Click on the specific Step/Keyframe you want to see. Then Click on the “Preview Camera Angle” button.
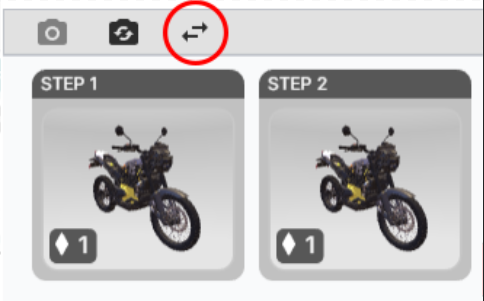
Switch Steps:
If you want to rearrange steps, you must first click the “Switch Steps button”. Then you can click and drag steps around until you get the desired step order.
Play Button:
To play your animation, click the triangle looking button in the middle of the timeline.
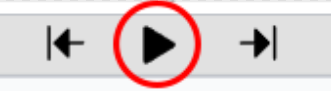
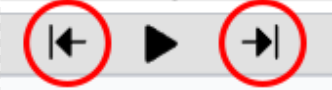
Skip to First and Last Step:
To immediately jump to the first step in your animation, click the “Jump to first step button”. The logo looks like an arrow that points towards to first step. To immediately jump to the last step in your animation, click the “Jump to last step button”. The logo looks like an arrow that points towards to last step.